For this year's 4th of July weekend, my girlfriend and I decided to get the flock out of the DC area and go camping at the
Pennsylvania Grand Canyon (PAGC) in
Leonard-Harrison State Park. We were definitely in vacation mode this time around, so photography was less of a priority. There would be no getting up at the crack of dawn for sunrise pictures, nor would we be rescheduling dinner around the sunset. Nonetheless, the 5D was with me, along with my new-ish
24-105/4 L IS.
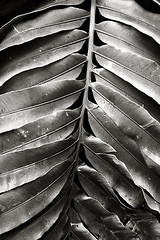
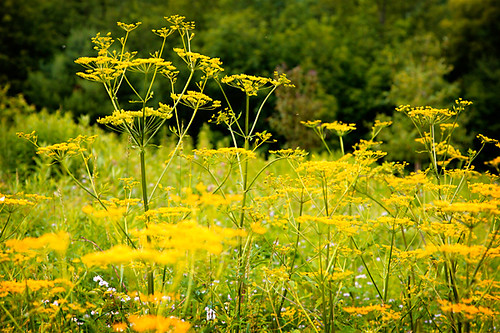
We hit the
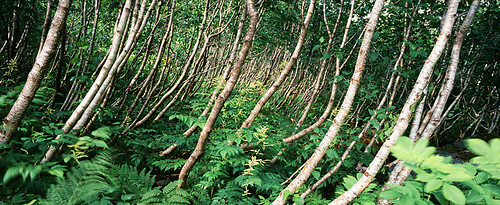
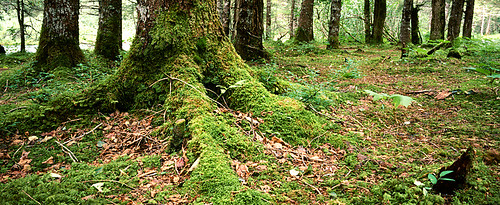
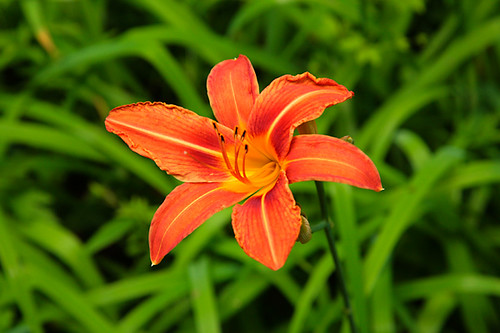
Rattlesnake Rock Trail on our first evening. This trail had a really deep, dark feel to it. The trees ascended the mountain on the west side of the trail, making the canopy seem particularly thick. The creek along the tail provided a nice clearing through the dense forest. The trail head also had a cool meadow, pictured below. Just don't go wandering too far off the trail, several people reported seeing rattlesnakes nearby. I guess the trail lives up to its name.
When we got back to the campsite, we decided to get the fire going. When we'd arrived around 1:30pm, most of the campsites were empty, and the park ranger said we were free to gather up as much wood as we wanted. The down side was that most of the wood had been left sitting out in mud and puddles for a while, so it was quite damp. The wood that was dry was often infested with a variety of ants. We were able to find a few good pieces though, and plenty of kindling. After persistently feeding the fire with kindling (along with the help of some lighter fluid), we finally got some hot coals to dry out more of the wood. The fire pits at Leonard-Harrison State Park are fitted with fold-over grates, which we used to hold up the cast iron skillet. After enjoying some pork chops, we hit the hay.
In spite of our best efforts to sleep in on this trip, we actually got up by 6am both mornings we were camping. The birds dutifully announced the sunrise, so we simply decided to get an early start on the trails. On the plus side, we didn't have to wait in line for the shower; there was only one for men, one for women, and one in the "family" restroom.
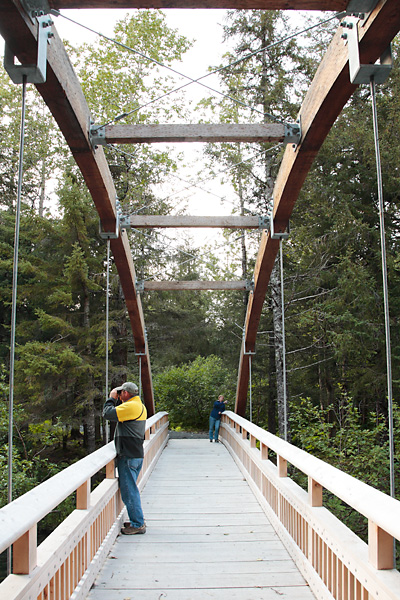
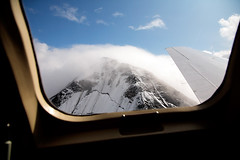
The second morning we decided it was time to hit the local
tower overlook. When we got there, it was totally unmanned and looked about as rickety as a ride at a state fair. The entry gate was operated automatically via a credit card reader, which was somewhat unexpected given the tower's remote location. The charge was $3. I ended up having to swipe my card twice; I'd given the gate a half-push, which was enough to make it think I'd gone in, but not enough to actually move the gate. I'd recommend standing in the gate then reaching back to swipe your card rather than swiping then stepping in. In any case, morning was definitely the time to go, as we had the whole tower to ourselves, and the view was very nice. I imagine it would be even more spectacular at sunset. In hindsight, I'm also curious if we could have seen some distant fireworks that night.
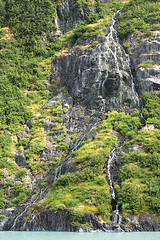
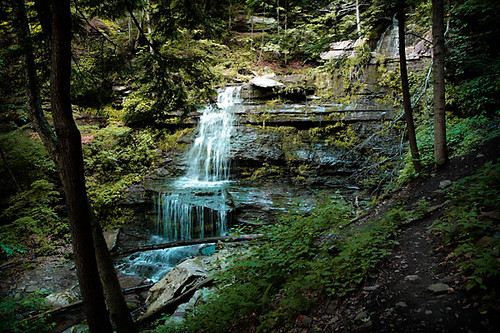
Once we were done at the tower, we decided to hit Leonard-Harrison's feature trail, the Turkey Path. Undiscouraged by the hazard signs at the entrance to the trail, we worked our way down, enjoying some of the best waterfall views I've seen outside of the Pacific Northwest. This is also where the image stabilization on my lens really amazed me. I was able to get some excellent shots of the waterfalls at 1/13 of a second
hand held. While the optimal shutter speed for waterfalls is actually 1/3 of a second, 1/13 isn't bad and saves the time, trouble, and weight of a tripod. Here's a shot of Lower Little Four Mile Run Falls.
When we were done on the Turkey Path Trail, we headed over to
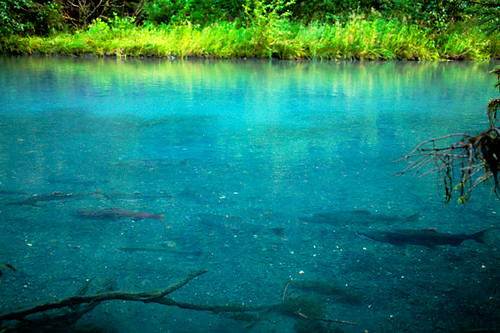
Darling Run Station for some lunch and a walk along the Pine Creek Trail. We were vastly outnumbered by people on their bicycles on this long, smooth trail. The trail can get a little monotonous at walking speed, so I'd recommend biking it. Then again, from a bike, it would be difficult to get a shot like this:
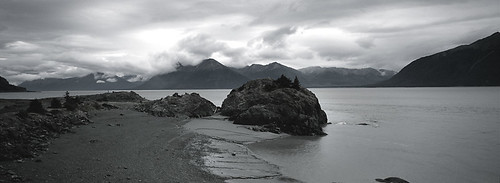
After a lazy afternoon nap, and a beautiful drive up to
Hammond Lake (and a brief stop at the
Tioga Central Railroad), we decided to forgo the local fireworks and start on the fire instead. This time around, I decided to try a different fire starter... dryer lint. I was skeptical at first, but it just took a handful of lint under some kindling to get the fire going; no lighter fluid required. It probably helped that we had more dry wood to work with this time, but if you ever need fire starter, look no further than your dryer.
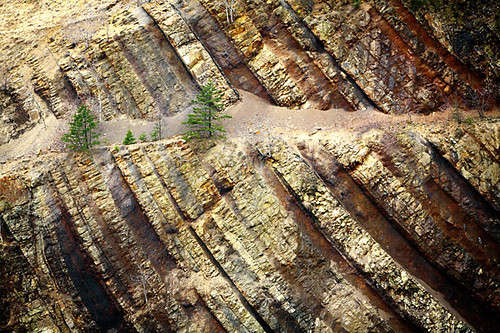
Whether you call it the "Grand Canyon of Pennsylvania" or the "Pennsylvania Grand Canyon", it's very cool, and well worth a stop.